

The 49 and Market used: http://www.49andmarket.com/shop/
Vintage Artistry
The Report-BS
Tattered-BS
Botanical Press
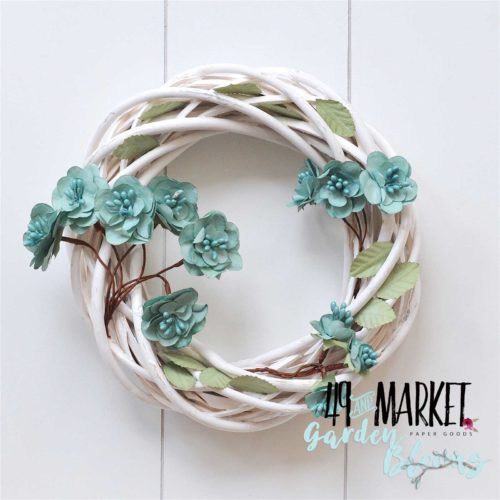
Garden Bloom-Dusty Shale
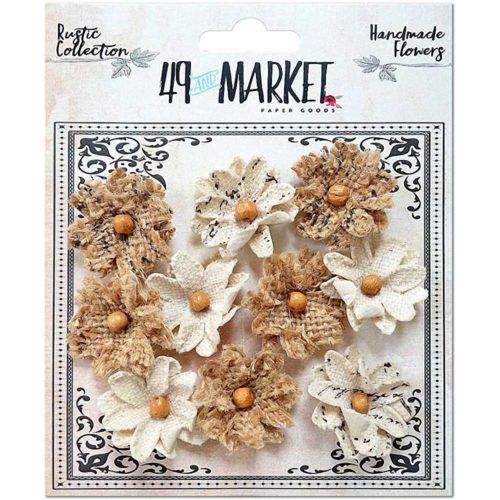
Rustic Canvas Blooms Small
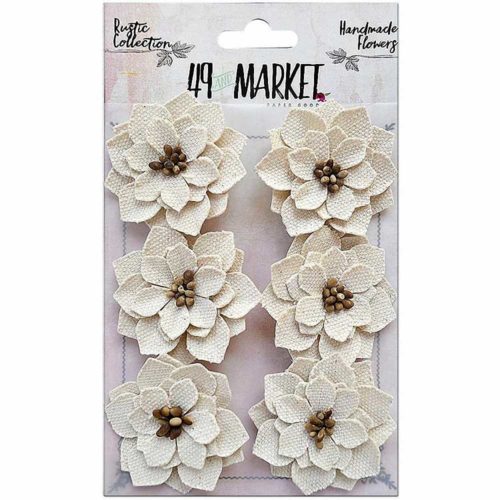
Rustic Poinsettia Canvas Blooms
The Dusty Attic used: http://www.dustyattic.com.au/

Doily #5

Gem Drop Border

Scallop Borders

Stars #3

Marrakesh Trellis Small

Mini Icicles

Leaves

Word Pack #11

Word Play #9

Paisley #1

Dusty in Colour Mountain Meadow
Close ups of detail....


Let it Snow

The 49 and Market used:
Tattered-BS 6x6
The Report-BS 6x6
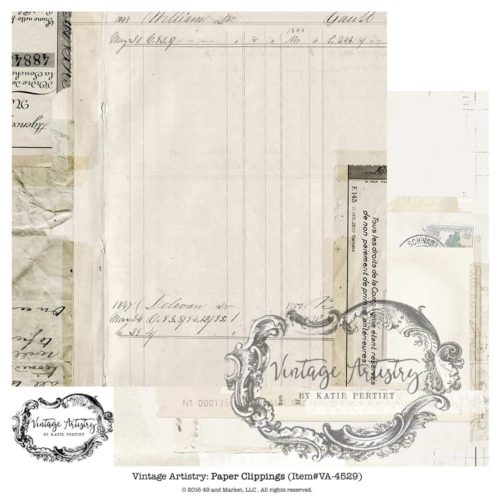
Paper Clippings
Garden Bloom-Dusty Shale
Rustic Canvas and Burlap Blooms Small
Rustic Poinsettia Blooms
The Dusty Attic used:

Creative Layers #4
extra snowflakes

Spring Tree
Stars

Mini Icicles

Ornate Pendants

Mini Chains

Doodad #2

Doodads #5
Gem Border
Leaves
Word@y #9

Sparkle Stencil

Threaded Beads Stencil
Dusty in Colour Mountain Meadow
Other elements used: Prills Sage Advice, Dreamweaver Translucent Embossing Paste, Prima Snowflake Paste, Prima Glass Glitter-Pearl, Tim Holtz Clear Crackle, Dusty Attic Paint Oceana,Clear gesso, Liquid Pearls-Robin's Egg, LuminArt H20 Heavenly white, Prima Glass beads, Prima,say it in crystals, Prima lace
Here are some close ups....


I ran out of the Prima glass glitter, so I used TH distressed glass glitter, I do not like the snow texture on its own....

Our local store got the Prima glass glitter- pearl in, so happy!!! I just reapplied the texture & sprinkled on the glass glitter, over a paper plate, so I save the excess! It is this glitter that brings the snow texture to life!


TUT for Shine...


I cut out these circles, primed them with clear gesso, then painted them with a thick coat of clear crackle...

While the crackle was still wet, I placed the DA doily on top. I had cut the doily, primed it with white gesso, painted it with clear crackle, & once the crackle dried, I painted it with LuminArt H20,-Heavenly White

I decided to do the tut, after I got this far, so there is a few missing photos. When the Vintage Artisry Collection came out, Janene said that this Collection is neutral & can be used for any project, so that is why I decided to play with the Collection, for Winter, Christmas LO's & cards. I am very happy I made that choice! I used the 6x6, I cut the Report-BS in half (the bottom layer) distressed the edges & glued it on to card stock. The bottom measures 9.5 inches wide & 6 inches in height. The next layer is 6x6 "the Report-BS),using a ruler, I ripped it at a angle, distressed the edges, then using a brush, I applied the snow texture, & sprinkled on the glass glitter, over the wet snow texture. The top layer is 6x6 tattered-BS, ripped at a angle, distressed edges, applied the snow texture & glass glitter. I then glued on the Mini Icicle, did the same treatment as I did on the doily, but also applied the snow texture & glitter on to the top. I did not cut the rest of the circle, off of the doily, I used it to glue it behind the card....

I cut off the other half of the circle on this doily & glued it onto the card...

I primed the Marrakesh Trellis, then painted it with the LuminArt H20, Heavenly White, once that dried I applied drops of liquid pearls-Robins Egg...

I painted the flowers, with the Heavenly White, then glued some glass glitter on to the flower centers...

I changed the flower centers on the canvas blooms, using Prills-Sage Advice....

Using a brush, I applied snow texture & sprinkled on glass glitter while the texture was still wet...

Applied clear crackle, & placed stars on the wet crackle...

Glued on the Scallop Border ( I did the same as I did on the doily & icicle), & glued on the Marrakesh Trellis...

Started on a cluster, with a bow & altered Rustic Poinsettia Canvas Bloom..

Added garden blooms & paisley...

Added the gem drop border, title, Word Pl@y, leaves,stars & another cluster. I glued some glass beads on to the Marrakesh Trellis. I had primed the title, & gem drop border, with clear gesso, painted them with the DA mountain meadow paint, then applied clear crackle. Once the crackle dried I painted them with the Robins Egg Liquid Pearls...
Tut for Let it Snow


I Cut the Tattered 6x6 in half, then primed it with clear gesso. Using the DA threaded bead stencil & Dreamweaver translucent texture paste, I did some stencil work on both pieces...

Using a ruler I ripped the 6x6 of the report-BS, distressed the edges, & did some stencil work using DA sparkle stencil & the translucent paste...

I glued these pieces down, width measures 9.5 inches & height is 6 inches...

Glued on the bottom of the report piece, I painted the stencil work, with the H20 Heavenly White...

Then the scallop border & lace ( did the same treatment on the chipboard pieces as I did on the card above)....

Glued on the top of the report, I had applied the snow texture & glass glitter, & let it dry before I glued it on...

Primed with clear gesso, then painted with the DA Mountain Meadow. I then painted them, with the clear crackle paint, let dry, then painted them with the Liquid pearls-Robins Egg

Primed with white gesso, then painted with clear crackle, once the crackle dried I painted them with LuminArt H20 Heavenly white...

I traced the circles of the snowman, from scraps I had from the Vintage Artistry Collection & glued these pieces onto the chipboard pieces....

I primed with the clear gesso, then applied clear crackle...

Primed with clear gesso, painted with mixing DA mountain meadow & oceana. I glued the 2 tress together, then painted all of the pieces, with the clear crackle, let dry, then the liquid pearls -Robins egg...

Gluing the snowman together, added scraps of chipboard to the BS...

I applied the snow texture, to the bottoms of the circles, then glued them together...

The crackle has dried, & I painted the the snowman & border with the H20 heavenly white...

I glued the 2 trees together, then on to this piece, using clear crackle...

Glued on the chains...

cut off part of the chain & glued on the snowflakes...

Glued on the doodads..

Glued on another snowflake, snowman & tree. I applied snow texture on to the snowman & the tree...

Glued on some flowers,star & Mini Icicle...

Glued on the gem drop border, & the pieces from the Ornate Pendants

Glued on the word pl@y pieces

Glued on more doodads on the top left..

Added anther cluster, top right & glued glass beads into the tree & the bottom doodad..

Added snowflakes & mini holly...Trimmed the paper clippings to just over 9/5 inchs wide, folded it in half a glued this onto the card part...
Thank you so much for taking the time to look, & I will also have another post tomorrow with a photo Tut... It is the Season to Sparkle & Shine....Rachelle
Rachelle thank you for sharing your tutorials! Both of these cards are stunning!! I love the photo presentation of them showing the real snow in the background! BEAUTIFUL GORGEOUS INSPIRATIONAL !!
ReplyDelete